Step 6: Use of different tools
Once the project has been created and after having uploaded all the pertinent information, now you are ready to display the Tools Menu enabled for your service.

As a first instance, you must enter the assigned project, then the point cloud file.
1. Basic tools
In the upper left part you can appreciate two buttons, the PURPLE button displays a menu in which you can visualize the different tools available.
1.1. Measuring tools
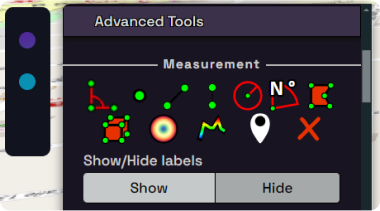
Measurement angle.

The second corresponds to identifying a point in the point cloud and being able to know its coordinates on the map.

The third corresponds to the measurement distance between two or more points on the point cloud that you had selected.

The fourth corresponds to the height measurement tool, which measures the vertical distance between two points that you had selected in the point cloud.

The last button allows you to delete all measurements made previously in the point cloud.

1.2. Color and base map
Clicking on the first image allows you to color the cloud according to the elevation values.

The second image allows coloring according to RGBA colors in the case that the point cloud has been colored.

The third image allows you to draw the point cloud with correlation to the classification values, in the event that it has been classified.

The fourth allows you to color it by intensity, which is an established parameter for all point clouds.

The last one allows you to activate or deactivate the Basics.

1.3. Render quality
The first render quality image is low in case, at that moment, you don't have a fast internet connection.

The second is a medium quality.

*it will require a better internet connection and may have a longer rendering time; in this case your browsing will be a little slower.
2. Advanced Tools Menu
In addition from the basic tools described above, you will find other tools that will be helpful for you to save time and make informed decisions:
- Circumference measurements, which allow measuring the radius of a circle and the surface area of a specific area.
- Volume measurements, which allows measuring cubic zones and the volume within a zone.
- We also find elevation measurements, this tool allows the showing of the elevation profile of an area that you may require to obtain specifications.
- Another helpful tool is Annotations, which allows you to label and add certain information that you may consider relevant in your project.
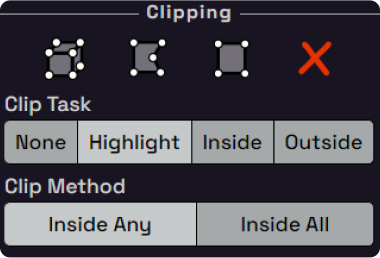
2.1. Tools or CLIP TASKS
Allows you to select a certain segment of the point cloud in which you may consider necessary to perform a procedure or you may need to be exported.
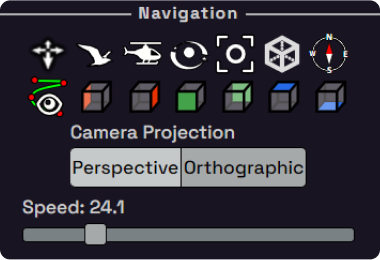
2.2. The NAVIGATION tools:
These tools allow you to configure the best way to interact with the cursor in the point cloud.
- In each of these icons you will find different types of control buttons which will facilitate you to move around the entire area without the need of a point cloud. As you select a spot to observe, you can change the view, the angles and the way of seeing through the camera.
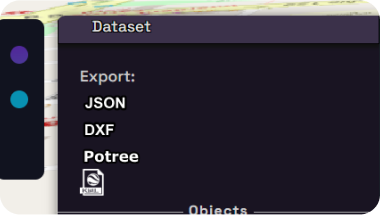
3. DATASETS menu (data set)
This option will allow you to export all the measurements, annotations and all the information that you have made in the point cloud. You can export them in a JSON, DXF file or all POTREE forms.
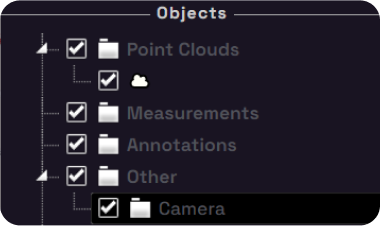
3.1. OBJECTS sub menu
In this submenu you have at hand all the information that is being displayed. Point clouds, 360 images, vector information (if they had been previously used) and also each of the measurements and annotations that you had made.
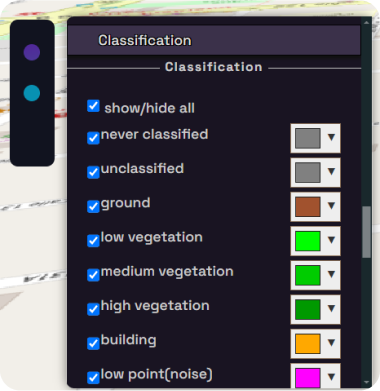
4. Classification submenu:
This is a very helpful tool containing all the colors for the different categories for which the point clouds are classified, this has been designed with an initial configuration which can be modified at your wish.

Step 2: Creation and assignment of user accounts

Step 3: Upload data
Step 4: Upload 360 images

Step 5: Running the artificial intelligence

Step 6: Use of different tools